One major advantage of the Nokia N900 is that all of its firmware updates so far have been available Over The Air (OTA) immediately. In fact, both firmware updates from 2 weeks ago were available in the device’s App. Manager before users were able to update using Nokia Software Updater on their PC. Besides the speedy availability, the OTA updates take full advantage of UDP (User Data Preservation) which allows you to update your N900’s firmware without using any of your data or settings which is crucial if you’re going to update while mobile. However, what happens when you actually want to reset your N900 back to its default settings? You could use NSU on your PC but not only do you revert your settings to default but you lose everything stored on the device. This may not bother you in the slightest but I’ve taken a lot of pictures using the N900’s camera, loaded a lot of music to listen to with its music player and don’t have the convenience of being able to backup and restore my contacts OTA since the N900 is not yet compatible with Ovi Sync…I’d like to keep all my content, thank you. You might think that I’m stuck here but that would make this a pretty lame review so let’s get into how to flash your N900 using Maemo Flasher 3.5.
Maemo Flasher 3.5 is a very basic yet powerful tool. It’s not much more than a Command Prompt window but you can very easily brick your device if you aren’t careful with what you’re doing so like with every “How To” guide on the Fanatics network, please understand that you undertake these steps under your own risk.
Step 1: Head on over to http://tablets-dev.nokia.com/maemo-dev-env-downloads.php, download the version of Maemo Flasher 3.5 appropriate for your system and install it. You should be able to find a version that supports your operating system no matter what you’re running.
Step 2: Goto http://tablets-dev.nokia.com/nokia_N900.php and you’ll be greeted by an authentication page. Enter your IMEI in the field besides “Enter product id:” and click Send. Accept the End User Software Agreement on the next page and you’ll be redirected to a page containing firmware images for the N900.
 Step 3: Download the file ‘RX-51_2009SE_2.2009.51-1_PR_COMBINED_MR0_ARM.bin’ which is the ‘Second Maemo 5 Global release for Nokia N900. Make sure you select the Global release and not any of the regional ones to avoid problems with different keyboard layouts and so forth.
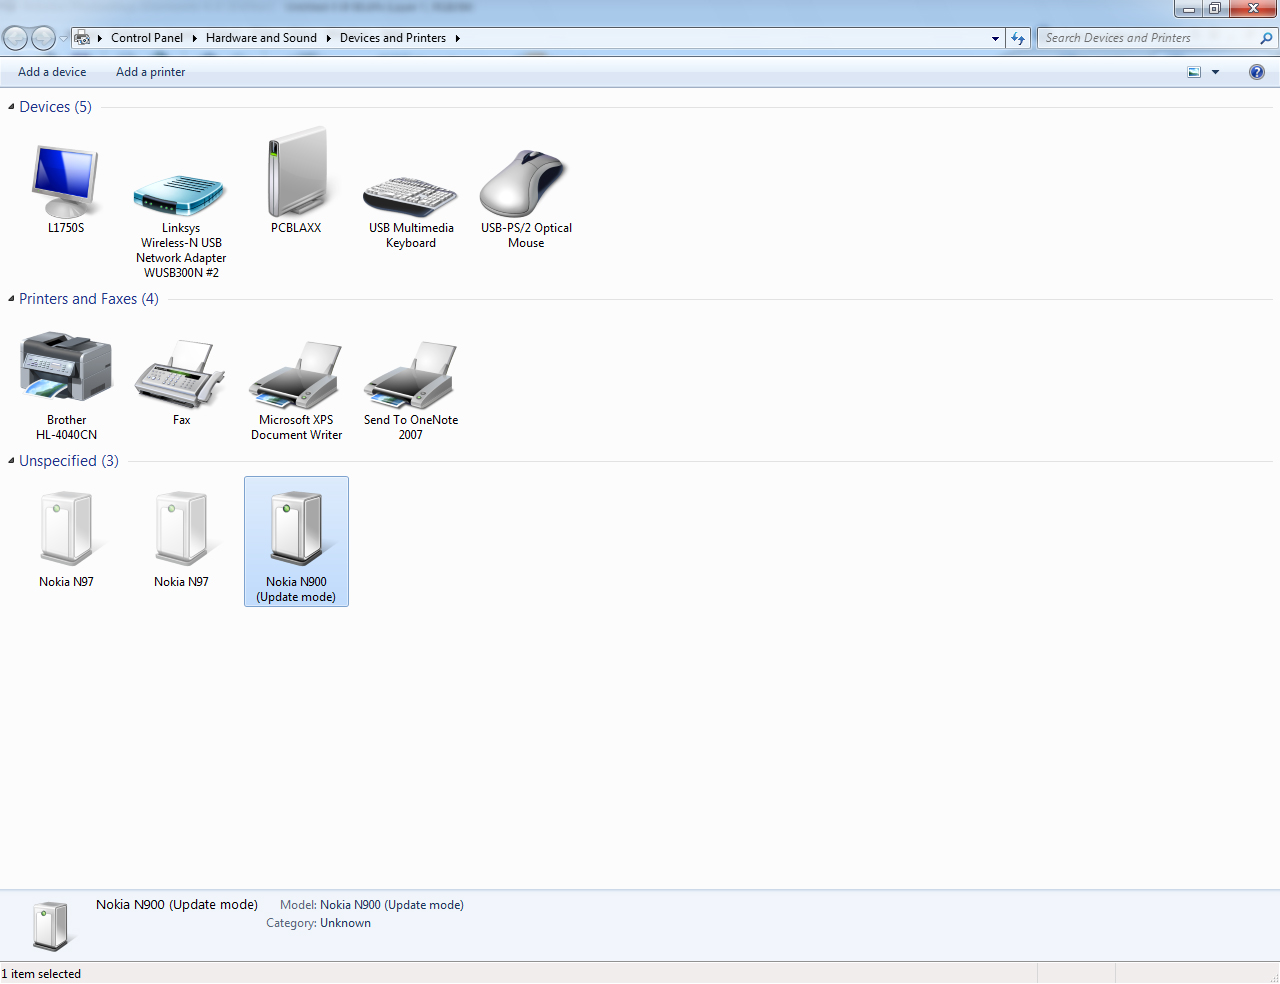
Step 5: Make sure that neither PC or Ovi Suite are running on your PC. Hold the ‘U’ key on your N900 and connect the USB cable. The Nokia logo should appear on your screen with an icon in the top right corner to signify that the device is connected to USB. The backlight will not turn on, this is normal. Note: Don’t be alarmed if you see an error message pop up in the System Tray saying “Windows failed to install the device drivers successfully”. I received the same message the first time I connected it in this mode but Windows seems to recognize it just fine. You can verify whether the device is being detected properly in Windows by going to Start -> Devices and Printers.
Step 6: Launch Maemo Flasher 3.5. Assuming you kept all of the settings default, you can find it by navigating to Start -> All Programs -> Maemo -> Maemo Flasher 3.5
Step 7: Remember that firmware image we downloaded? You will want to move that file into the same directory that you installed Maemo Flasher 3.5 and is shown when you first launch the tool.
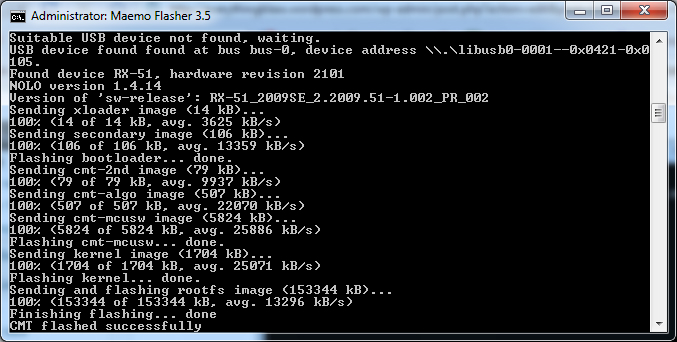
Step 8: Once the image is moved to the directory, it’s time to enter the command that will flash our N900. For the specific version of the firmware that we downloaded, the command is “flasher-3.5 -F RX-51_2009SE_2.2009.51-1_PR_COMBINED_MR0_ARM.bin -f -R” (IMPORTANT NOTE: This command is case-sensitive).
Step 9: The tool will start flashing your device (The whole process takes 3-5mins if even that long). Naturally, don’t disconnect your N900 during this time. It will reboot on its own when it’s done and when you see the initial setup screen on your device, it’s safe to disconnect the USB cable and start setting up your N900 again.
That’s all there is to it. After flashing my N900, any applications I installed, applications catalogs I added, settings that I had changed were removed. However, all my contacts, text messages, Bookmarks, RSS subscriptions, photos, music, videos, even my best times in Mahjong, were intact.


Tidak ada komentar:
Posting Komentar